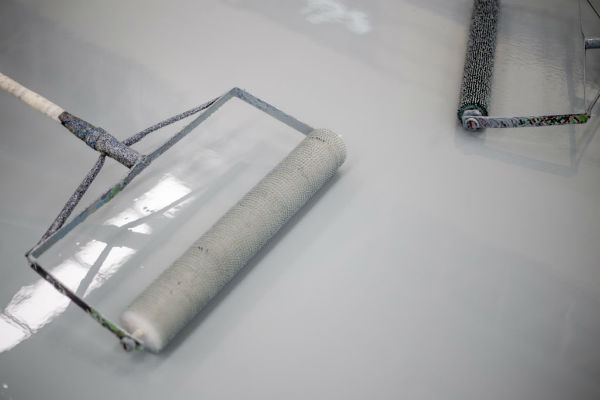
Our Professional Floor Coating Process
Learn about how our experts apply our floor coating systems for any concrete surface around your home! Whether it is a garage floor or coating the concrete around your pool, we work with a multitude of manufacturers and several different coating systems available to match your unique needs.
Learn more about our floor coating options and see finish options!

Floor Coating Step 1: Machine Etch/Coating Removal
All floors are mechanically prepared to a Concrete Surface Profile (CSP) Level 2 or higher generally using an industrial diamond grinder or shot blaster. Existing coatings are removed if applicable. This is done to remove any surface contaminants and open the pores of the concrete to allow for maximum penetration of the prime coat.
Floor Coating Step 2: Repair of damaged concrete
Standard concrete damages such as; cracks, divots and spalling due to Mag Chloride are effectively repaired with our epoxy/urethane repair mixture. In severe cases resurfacing may be required (see Self-Leveling Concrete Repair Coat).
Floor Coating Step 2.5: Self-Leveling Concrete Repair Coat (if applicable)
In cases where severe concrete damage is present, a Self-Leveling Concrete Repair Coat may be applied to resurface the floor. These materials are commonly referred to as underlayments or overlayments depending on their application and function.
Floor Coating Step 3: Elastomeric Partial Fill & Seal
Next, we partially fill all expansion joints with an extremely flexible sealant to allow for expansion and contraction to occur without cracking the coating. When applicable we also seal the perimeter joint.
Floor Coating Step 3.5: Rycon Bridge (if applicable)
In cases where extreme movement is expected a Rycon bridge may be installed to prevent cracks from forming in the coating.
Floor Coating Step 4: Moisture Mitigation Prime Coat is Applied
The first layer applied is a specialized Prime Coat designed to be highly resistant to moisture vapor pressure created by both moisture vapor emissions and moisture vapor transmissions. This prime coat penetrates deeply into the pores and forms a molecular bond which “FUSES” it to the concrete rather than “sticking” it to the concrete.
Floor Coating Step 5: Base Coat of Epoxy/Polymer
Next we apply your base color coat. This layer is often done using a 100% Solids Epoxy, Polyaspartic, or Polyurea depending on the system we are installing. While this base coat is still wet, we broadcast your colored media flake, mica, or quartz if applicable. The base layer also provides impact resistant components to the coating system.
Floor Coating Step 6: Chip Broadcast
Several of our Finish Options include a colored media such as Flake,(also called “Chips”, “fleck” or “speckles”) Mica, or Quartz Stone that are manually broadcast onto the floor to the consistency and color of your choosing. We have an array of different sizes and color blends for you to choose from (see the “Finish Options” page).
Floor Coating Step 7: Top Coat(s)
Once the media broadcast is complete, we finish the system with 1 to 2 Clear Top Coats, depending on which Finish Option you select. We often use 100% Solids Epoxy, Polyaspartics and/or Polyureas for our topcoats which are non-porous and chemical resistant, so they won’t stain or discolor. They also come with a standard amount of “anti-skid” sand to provide improved traction. (Additional clear coats and extra “anti-skid” are available upon request)
